StriData becomes IXON partner StriData and IXON Cloud enter partnership to support integration with Azure and Power BI Read More
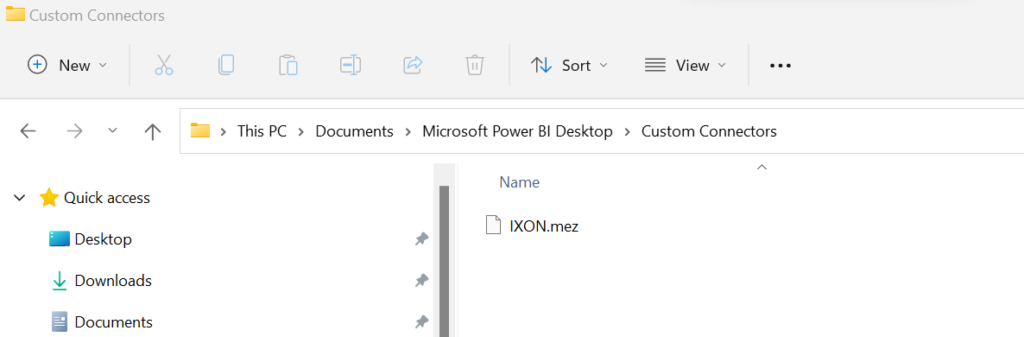
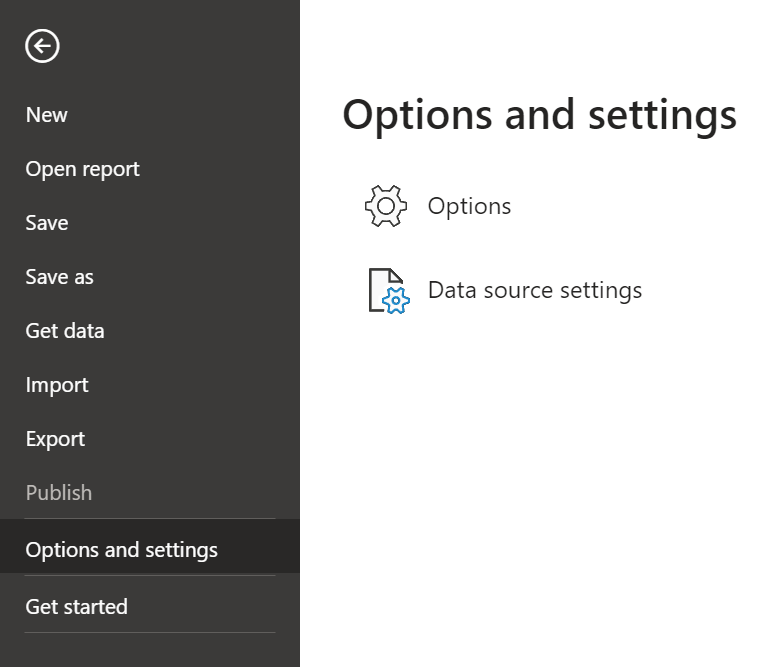
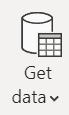
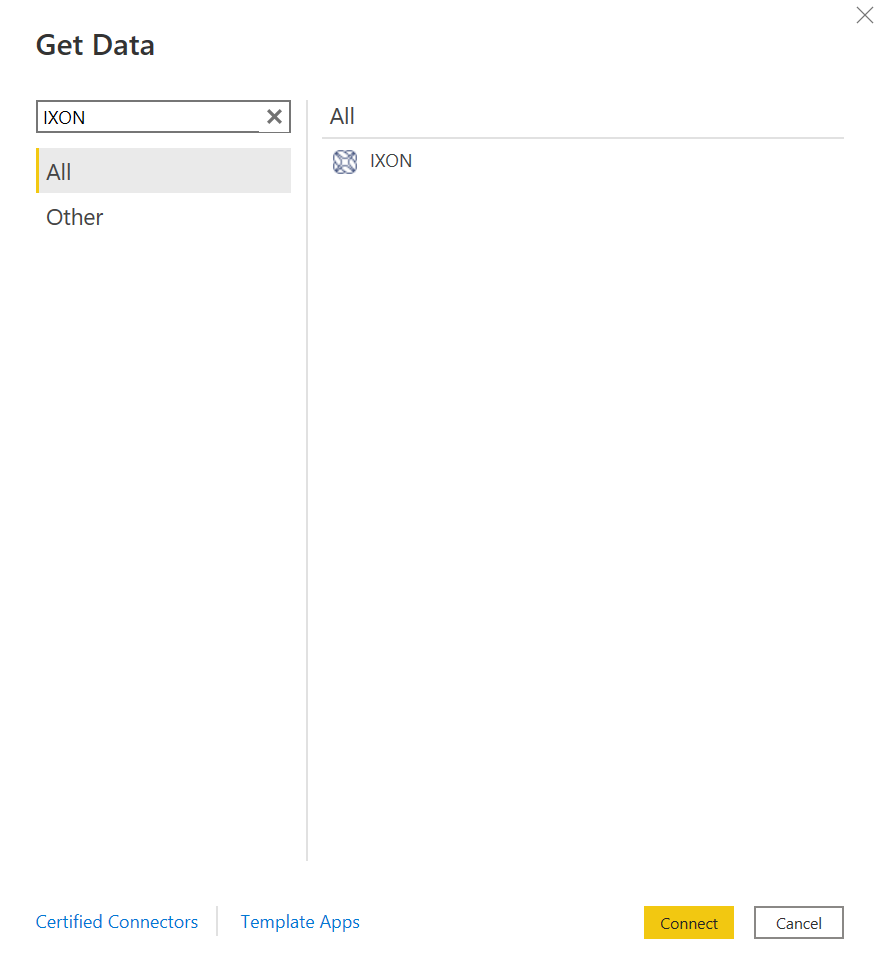
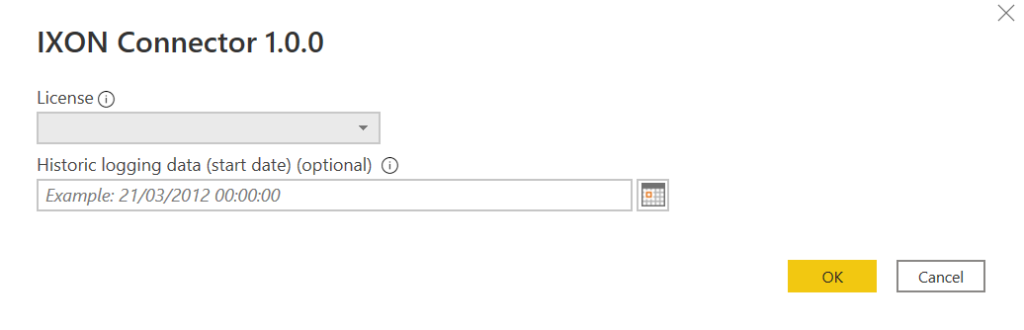
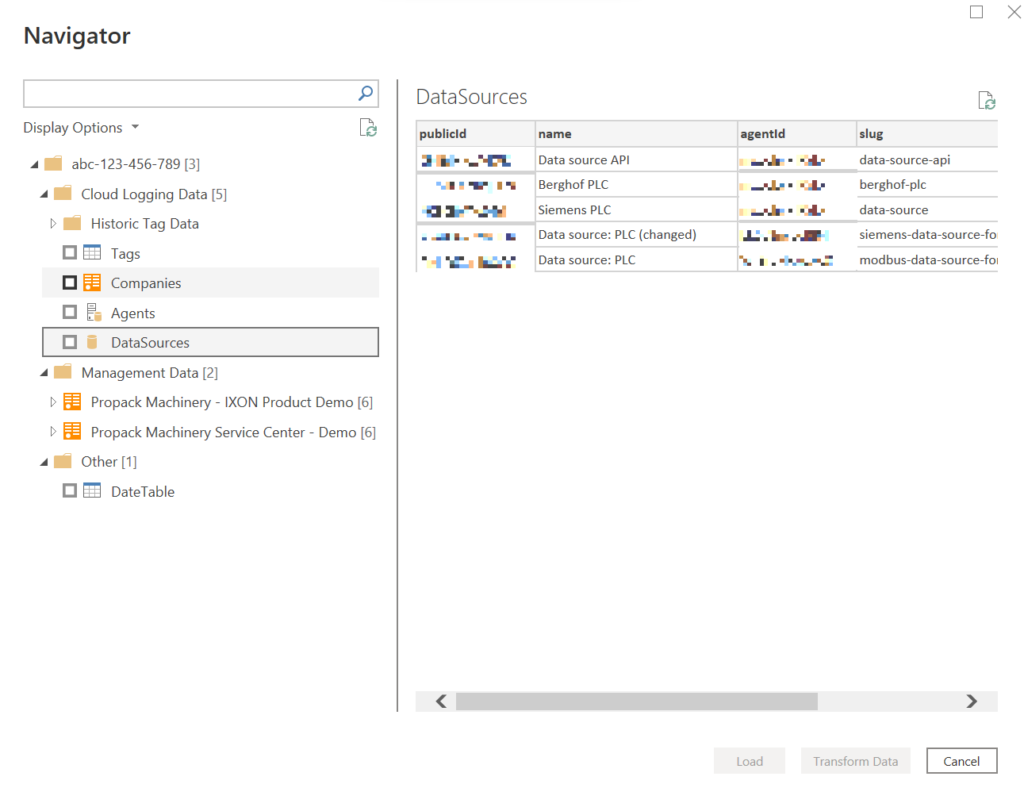
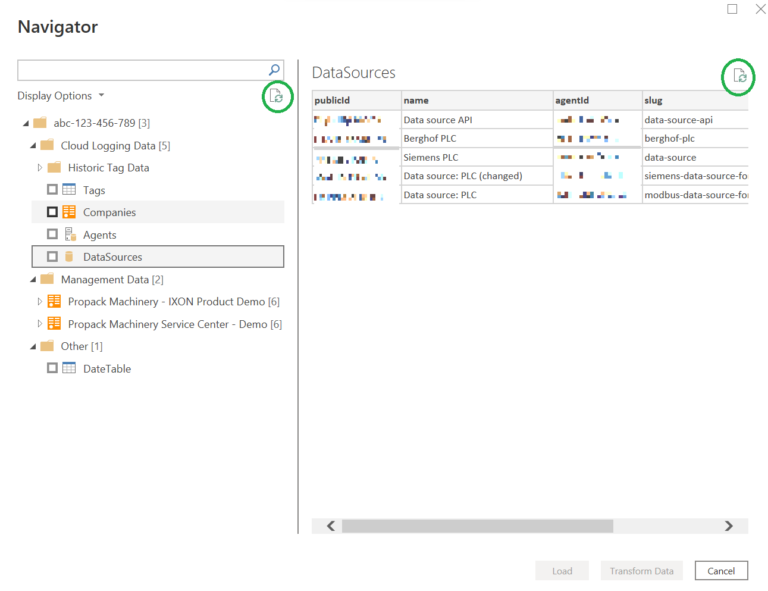
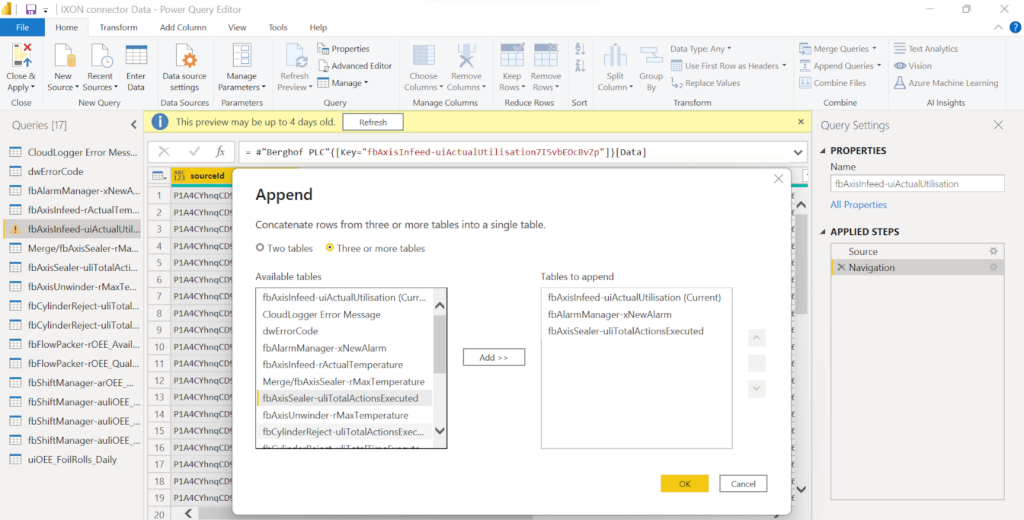
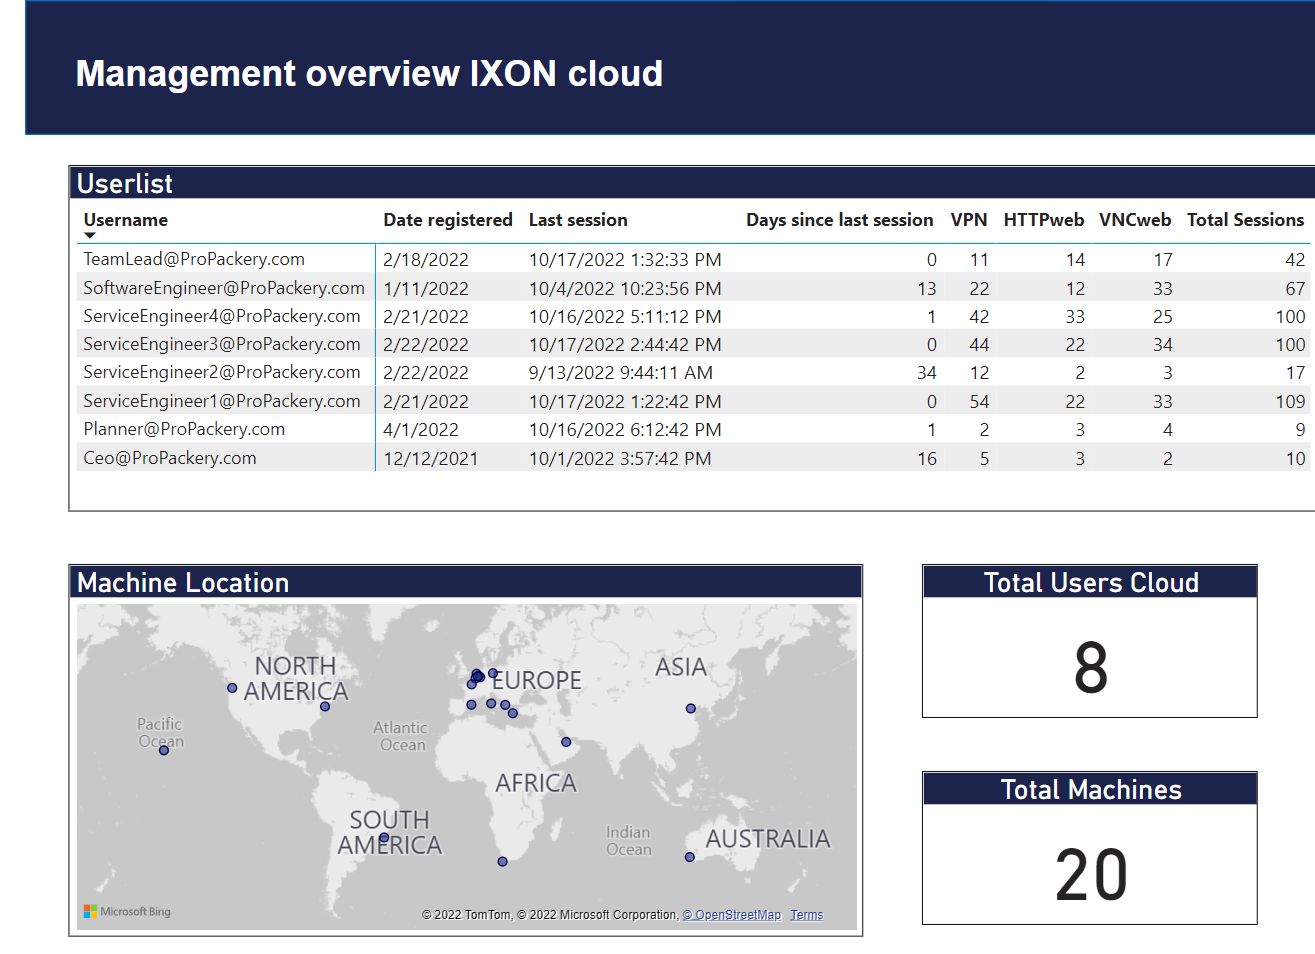
IXON connector and PowerBI reports The IXON connector enables the development of cloud logging and management PowerBI reports Read More